Step 1: Sign in to Your WordPress Admin Console
Step 2: Access the Plugin Section
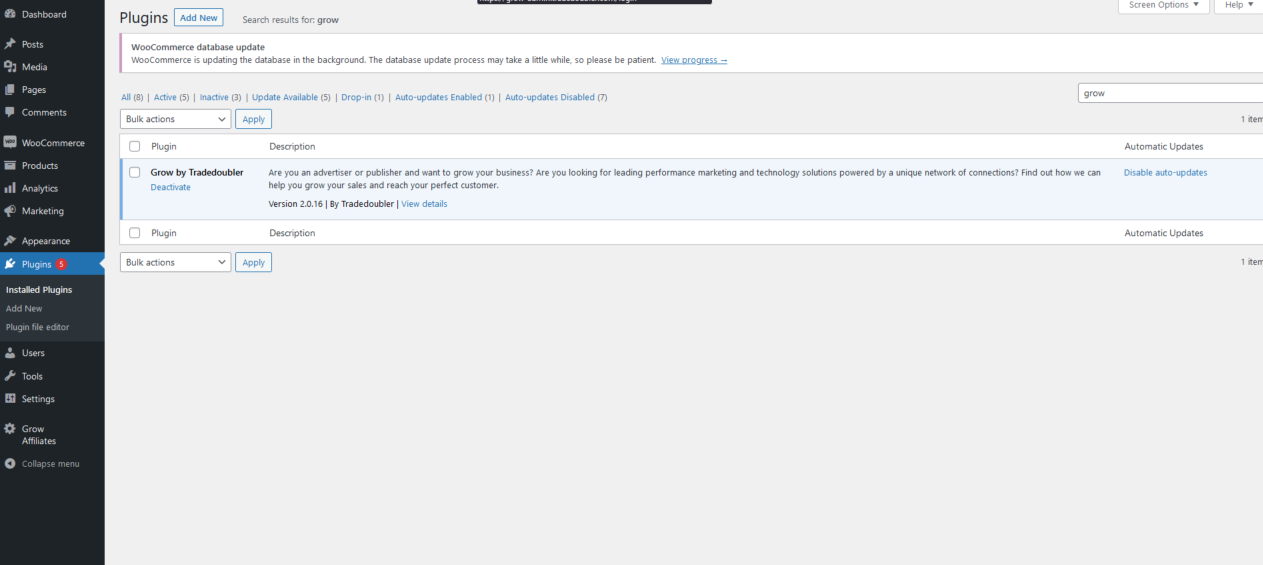
Navigate to the 'Plugins' section and search for 'Grow.'

Step 3: Install the Grow by Tradoubler plugin
Look for the 'Grow by Tradedoubler' app in the search results and install it to add it to your WooCommerce website.
Step 4: Find the Grow Affiliate Tab
After the installation is complete, you should find the 'Grow Affiliates' tab added to the main menu at the bottom of your console.
Step 5: Sign in to Your Grow Account
Click on the 'Grow Affiliates' tab and sign in using your Grow account credentials. This will establish the connection between your WooCommerce site and the Grow platform.
Step 6: Automatic Tracking Code Implementation
There's no need for you to manually insert any scripts or code. Upon signing into your account, the plugin will automatically implement the necessary tracking code to accurately record your affiliate sales.
Step 7: Verify Tracking Details
Confirm that the 'Details' displayed in the plugin, such as Organization ID, Program ID, and Event ID, are consistent with the corresponding information on the Grow platform. You can verify these details under 'My Programs > Tracking Set-up > Tracking Information.'
Step 8: Configure Commission Settings
By default, the tracking system is set up to assign affiliate commissions based on the net sale value, which excludes VAT and delivery costs. If you want to change these settings, you can do so by selecting the appropriate checkbox under 'Commission.'
Step 9: Test Your Tracking Setup
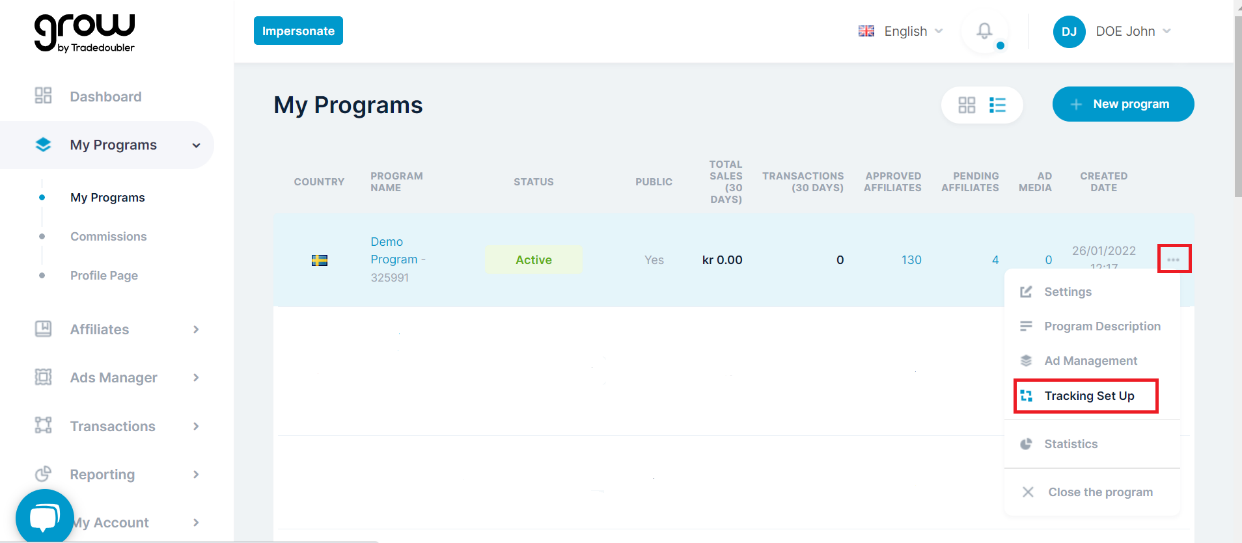
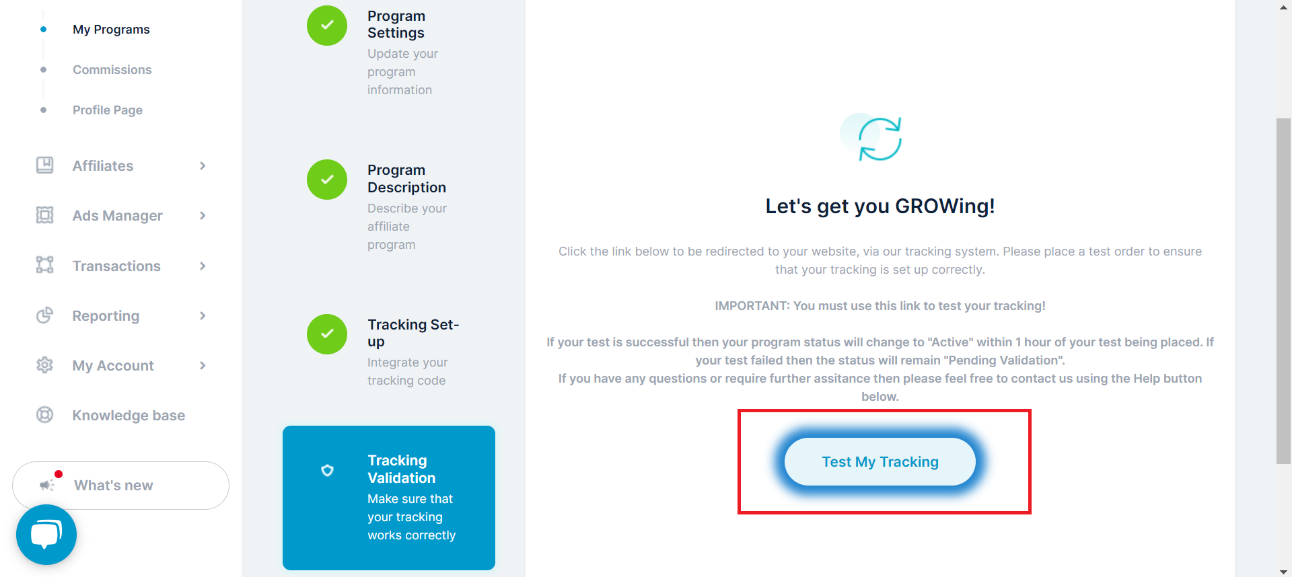
To test your tracking setup, sign into your Grow account and go to 'My Programs.' Click on the three dots next to the program you want to test, select 'Tracking Set-Up,' proceed to 'Tracking Validation,' and finally click on 'Test my Tracking.
Step 10: Complete a Test Purchase
You will be redirected to your online store, where you'll need to complete a purchase as a test. This step ensures that the tracking is functioning correctly.
Step 11: Program Activation
Congratulations! Your program should automatically go live within an hour. You can monitor this transaction on the Grow platform, typically visible within 15 minutes. Check your dashboard under 'Recent Transactions' for updates.
By following these steps, you've successfully integrated Grow by Tradedoubler with your WooCommerce site. If you have any questions or encounter any issues during the process, please don't hesitate to reach out to us for support at growsupport@tradedoubler.com.